
How to Make a Megasize Charcuterie Board for Fuss-Free Hosting (with a little help from Amazon)
I really appreciate you checking out my blog! Just so you know, some of the links in this post are affiliate links. This means that if you buy something through them, I might earn a little bit of money, at no extra cost to you. There’s absolutely no pressure to buy anything, but if you do, it genuinely helps support the time and love I put into writing these posts.
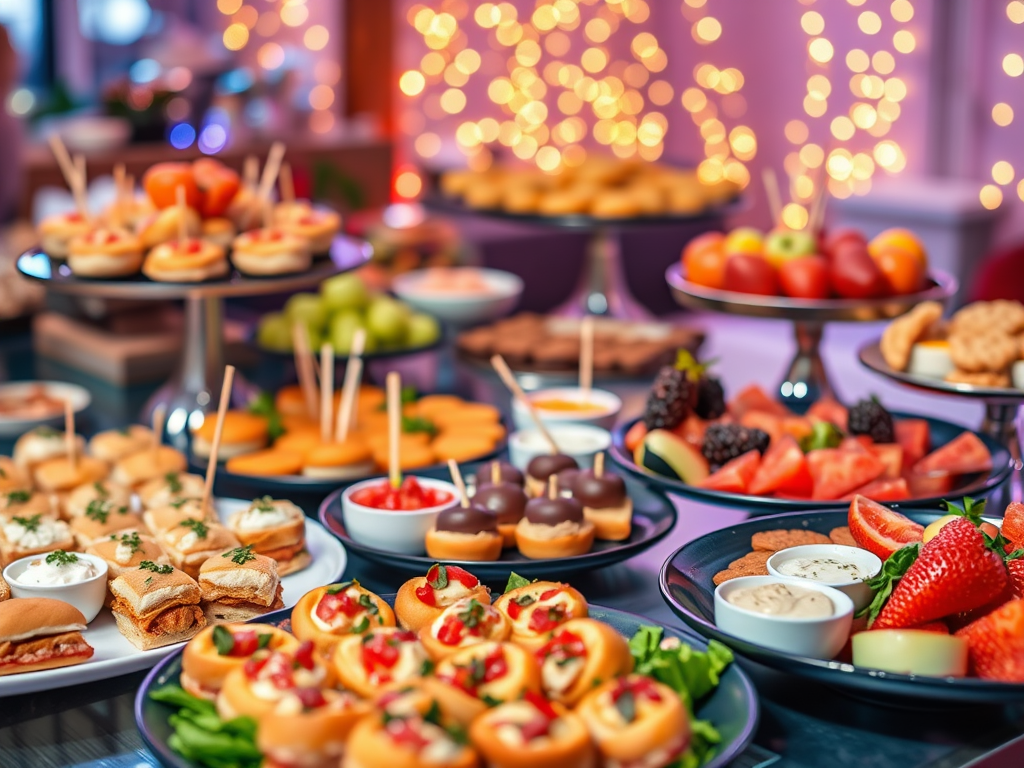
I’ll be honest — every time I host, I start with big dreams and end up covered in flour, swearing I’ll “never do this again.” But then I discovered the secret: the megasize charcuterie board. It’s impressive, it’s easy, and — the best part — it basically makes your guests feed themselves.
If you’ve ever stood in your kitchen thinking, “There has to be an easier way to make people think I have my life together,” this one’s for you.
Step 1: Pick a Board That Says, “I Tried (But Not Too Hard)”
First things first — the board itself. Bigger is always better here. I love a large acacia wood serving board (you can find plenty on Amazon), because it looks like you got it from a fancy market in Italy, but really, it was delivered in two days.
If you’re feeling extra, grab one with little side compartments or built-in cheese knives — I swear it makes you look ten times more put-together. Bonus: no one will ever know you unboxed it that morning.
Pro tip: Line your board with parchment paper first — it keeps cleanup ridiculously easy. After everyone leaves, just roll it up and toss it. You’ll thank yourself later when you’re not scrubbing goat cheese out of crevices at midnight.
Step 2: Choose Your Cheeses (The Heart of the Board)
Here’s the golden rule: pick three to five cheeses — a mix of soft, hard, and something unexpected.
Think:
• Brie (the one everyone secretly eats half of)
• Aged cheddar (sharp enough to make you feel fancy)
• Gouda (because it’s fun to say)
• Goat cheese (spreadable drama)
• Something with a twist — like a pepper jack or cranberry Wensleydale if you want people to gasp a little
You don’t need to overthink it. Honestly, people are just happy to see cheese.
I like to pre-slice or pre-cube some options for easy grabbing — because as much as people say they love cheese knives, no one actually wants to use them mid-conversation.
Step 3: Add the Meats (a.k.a. “The Protein Parade”)
Ah yes, the stars of the show — prosciutto, salami, soppressata, maybe even a peppered turkey for the non-pork crowd.
Here’s my trick: I fold slices into little ribbons or “meat roses.” Don’t worry, you don’t need a florist license. Just roll a few pieces around the rim of a wine glass, flip it over, and voilà — instant fancy.
If you really want to wow your guests, arrange the meats in different “zones” of the board so it looks abundant and balanced. A little chaos makes it look more inviting, like it’s been grazed on all day.
Step 4: Carbs, Because No One Eats Cheese Without Crackers
Crackers are the backbone of a good board — literally. They fill space, add texture, and make everything feel complete.
Grab a few types from Amazon:
• Multigrain crackers for the health-conscious friend
• Butter crackers for the one who’s “just here for the snacks”
• Breadsticks or baguette slices for dipping
Arrange them like rivers flowing through your board — it gives that Pinterest-worthy look without trying too hard.
And if someone inevitably knocks over your cracker pile, that’s just “interactive grazing.” Lean into it.
Step 5: The “Extras” That Make It Look Expensive
This is where the magic happens — the fillers and colors that make your board go from “cheese tray” to “wow, are you catering now?”
Here’s what to add:
• Olives (green, black, or both — the shiny little jewels of the board)
• Pickles or cornichons (tiny, adorable, and oddly addictive)
• Fresh fruit — grapes, strawberries, blueberries, figs (the color pops are your best friend)
• Dried fruit — apricots, mango slices, cranberries
• Nuts — almonds, cashews, or candied pecans for crunch
• Honey or fig jam — a must for drizzling or dunking
Everything should feel abundant — like your board could feed a small army but somehow looks effortless.
Step 6: The Aesthetic (a.k.a. “Fake It Till You Plate It”)
If you’re thinking, “I’m not artistic,” I promise you can do this. The trick? Clusters.
Don’t overthink symmetry. Just build little clusters of color and texture — a pile of grapes here, a scoop of nuts there, a small dish of jam off to the side.
Stand back every so often and look at it as if you’re judging a baking show. If it looks too neat, mess it up a little. That’s the secret to looking “naturally stylish.”
For a finishing touch, I love adding a few sprigs of rosemary or edible flowers (yep, Amazon has those too). Suddenly, it’s giving Martha Stewart meets lazy genius.
Step 7: Set the Vibe (and Let Amazon Help You There Too)
Charcuterie boards may be the star, but the vibe is the supporting cast. Dim the lights, light a set of LED candles (no risk of melted cheese), and maybe add a wooden tier stand for height.
Grab a marble serving set or small dipping bowls — it’s the little touches that make people whisper, “Wow, she really has her life together.”
And while your guests are admiring the spread, you can secretly feel proud that 90% of it came from one glorious Amazon order.
Step 8: Hosting Without Losing Your Mind
The beauty of a megasize board? It’s a conversation piece that does the heavy lifting for you. You can actually enjoy your evening — no constant refilling, no worrying about hot food going cold.
You’ll find yourself laughing, grazing, and actually being present (which feels rare these days, right?). That’s why I love charcuterie boards — they make hosting feel human again.
Step 9: The Aftermath (and the Secret Sauce)
Cleanup is my least favorite part of adulting. That’s why I always use disposable serving trays or parchment under everything. I pack leftovers into little reusable containers — because let’s be real, charcuterie leftovers are chef’s kiss the next day.
And when everyone leaves, your kitchen looks more like a cozy aftermath than a battlefield.
If you ever find yourself mid-hosting chaos thinking, “Why did I do this to myself?” — just remember: your megasize board is saving you from washing six pans and pretending to love cooking for a crowd.
Step 10: Let’s Keep the Party Going 🍷
If you’re still reading, we’re probably on the same wavelength — a little lazy, a little extra, but totally in it for the snacks and good vibes.
I’ve actually started sharing more hosting hacks, recipes, and no-fuss lifestyle tips in my newsletter — kind of like this chat, but in your inbox (with bonus finds I swear by from Amazon).
So, if you’re into that kind of thing — the easy, relatable kind of “put-together” life — you can sign up here and hang out with me there too. No spam, just snack-level joy and stuff that makes hosting (and life) feel lighter.
Now tell me — what’s the one snack you always put on your board? I might need to steal it for my next one.
Disclosure: As an Amazon Associate, I may earn from qualifying purchases, but this does not affect my recommendations.I only suggest products I’ve personally vetted.

Leave a comment